

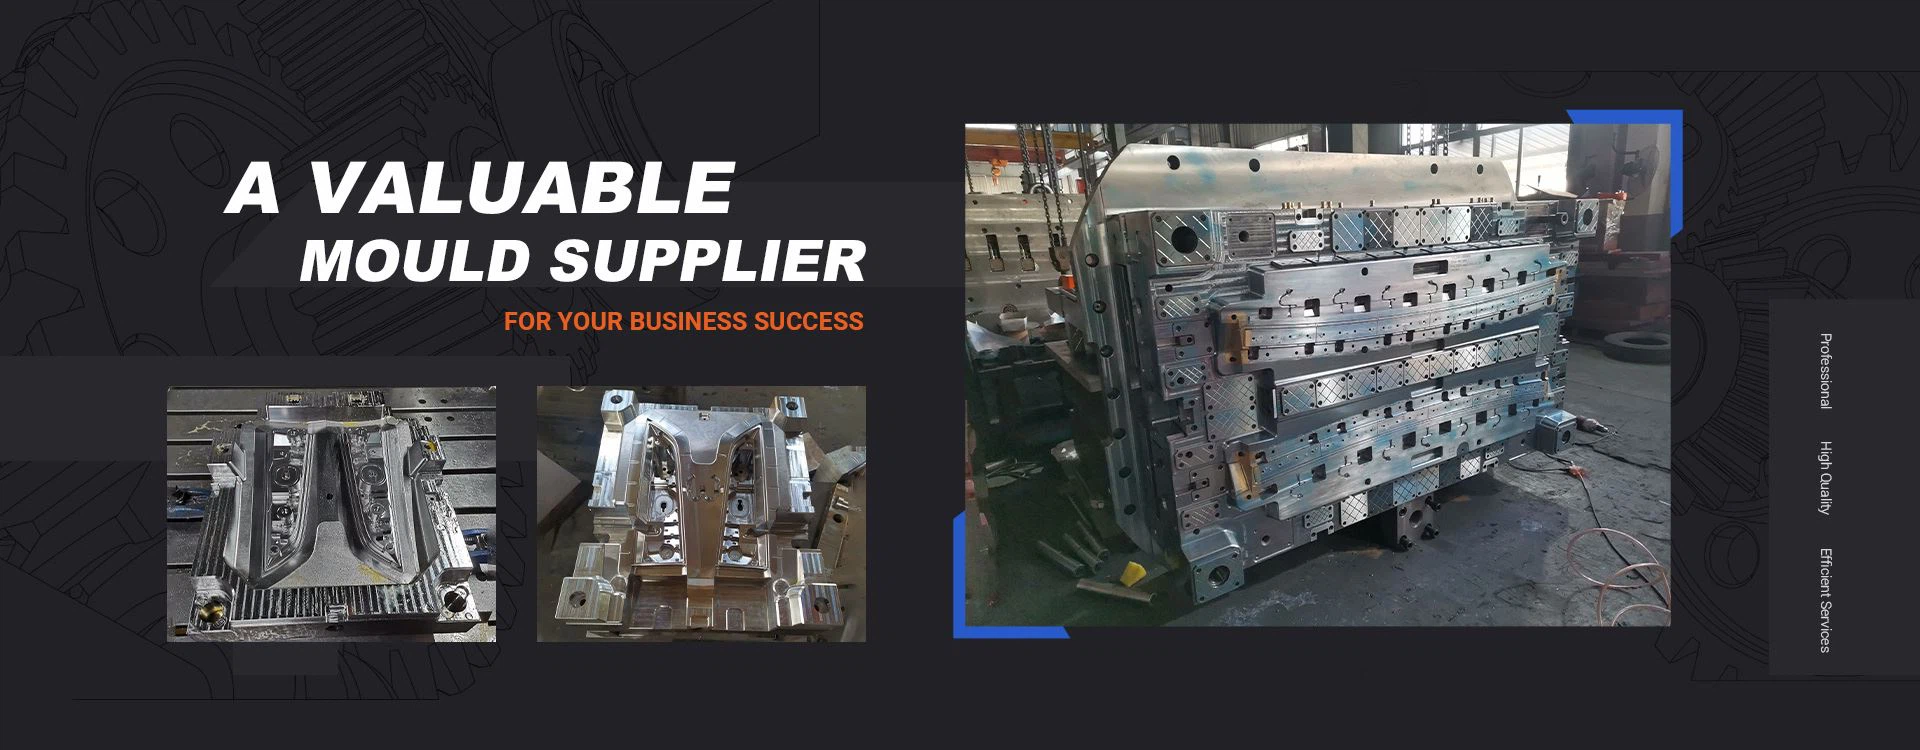
Automobile mold slider design
1. The inclined angle of the slider is 2~3 degrees larger than the angle of the inclined guide pillar, and the angle of the inclined guide pillar should not exceed 20 degrees;
2. The distance between the sealing surface of the slider and the front mold is greater than 15mm;
3. The insertion surface of the slider and the mold core should be made 3 degrees or 5 degrees to avoid direct friction with the mold core;
4. It is best for the shovel to be left in the original body, and the strength of the inserts should be ensured;
5. The inclined side and bottom surface of the slider need to be made wear-resistant blocks, and the quick mold can be considered not to be done;
6. The slider needs to add a spring (or a row buckle, or a spring and a row buckle together) and a limiting device;
7. When the glue surface area on the slider is large, a backhoe needs to be added;
8. Know how to calculate the stroke of the slider;
9. Know the materials used in the wear-resistant block guide rail, whether the oil groove needs to be opened, and on which side.
Tilted top design for automobile molds
1. The matching length of the inclined top connecting rod and the guide sleeve should be greater than 2/3 of the length of the connecting rod in the B plate;
2. The connection between the inclined top block and the connecting rod is better fixed with the cup head screw, which is convenient for processing;
3. The screw hole edge on the top block is at least 5mm away from the sealing position;
4. The hole of the connecting rod and the B plate is 0.5mm on one side;
5. The head and tail of the connecting rod should be considered for positioning, and the bottom plate should be made of process holes to facilitate disassembly and assembly;
6. The design of the ejection angle of the inclined top should be below 12 degrees, not more than 15 degrees;
7. Know how to calculate the ejection stroke of the uphill and downhill inclined top;
8. The inclined top seat is designed according to the simplest design without requirements;
Straight top design of automobile mold
1. The matching length of the straight top connecting rod and the guide sleeve should be greater than 2/3 of the length of the connecting rod in the B plate;
2. The connection between the straight jack block and the connecting rod is better fixed with the cup head screw, which is convenient for processing;
3. The screw hole edge on the top block is at least 5mm away from the sealing position;
4. The hole of the connecting rod and the B plate is 0.5mm on one side;
5. The head and tail of the connecting rod should be considered for positioning, and the bottom plate should be made of process holes to facilitate disassembly and assembly
6. The connecting rod can be directly fixed on the bottom needle plate;
7. The side of the straight jacking block needs to be inclined at 3 or 5 degrees to avoid friction with the mold core when ejecting;
8. There should be a distance of 0.2~0.3mm between the straight top block and the inner side of the plastic product.
Automotive mold ejector pin design
1. According to the product characteristics: the depth of the column is less than 5mm to make the inlay needle, and the column is greater than 5mm, but it should also be based on the actual situation;
2. The deeper bone position needs to be made of inserts for exhaust to avoid the filling of the trapped bone position during injection molding;
3. The nozzle needle needs to be placed directly below the sprue, and the inverted feature should be used to pull the nozzle out of the runner after the mold is opened;
4. According to the principle of product balance ejection, the thimble is reasonably arranged, the diameter of the thimble is as large as possible, and the processing of smaller thimble is more difficult;
Design of water transportation for automobile molds
1. It is necessary to arrange the thimble, inlay pin, inclined top and spout after the arrangement of the water transport hole to avoid interference with these components;
2. Select the diameter of the water transport hole according to the size of the mold, and control the distance between the water transport holes and the distance from the water transport hole to the glue position;
3. It is best to make vertical water transport holes, and oblique holes and spatial angle holes are difficult to process;
4. The water transport holes should be connected in series in the mold as much as possible, not outside the mold;
5. It is best to stagger the horizontal direction of the front and rear mold water transport holes, which is conducive to the cooling effect.
Automobile mold brace design
1. The position of the brace should not be too close to the square iron, it should be placed below the product and near the main inlet, and the force of the post-mold deformation is mainly the injection pressure of the injection molding machine;
2. The distance between the brace and the thimble should be more than 5mm, and the distance between the brace and the brace should be about 80-120mm.
3. The diameter of the brace is 2mm smaller than the unprocessed round bar, and can be designed as: ¢33, ¢38, ¢43, ¢48, ¢53, ¢58, ¢63, ¢68, ¢73, ......
4. The brace head should be designed as large as possible, but it does not have to be designed a lot, so as to avoid hollowing out the thimble plate, so as not to have insufficient strength of the thimble board.
5. The arrangement of the brace should be about 25%-30% of the projection area of the thimble plate.


